Difference between revisions of "AN~PPS-6"
Jump to navigation
Jump to search
RadioNerds (talk | contribs) |
RadioNerds (talk | contribs) |
||
| Line 23: | Line 23: | ||
#Set <u>Area Search</u> switch <u>(Mode 1-2-3)</u> to <u>Mode 1</u> or <u>2</u> as desired, and <u>Auto-Man</u> clutch to <u>Man</u> position. | #Set <u>Area Search</u> switch <u>(Mode 1-2-3)</u> to <u>Mode 1</u> or <u>2</u> as desired, and <u>Auto-Man</u> clutch to <u>Man</u> position. | ||
#On Angular control, adjust sector scan ring to center of desired scanning sector. | #On Angular control, adjust sector scan ring to center of desired scanning sector. | ||
| − | #Manually scan desired sector by moving receiver transmitter unit to azimuth. With radar trained on spot giving lowest reading, adjust <u>Sensitivity</u> control so that <u>Test Meter</u> pointer is on <u>AGC</u> line. Lock <u>Sensitivity</u> control. | + | #Manually scan desired sector by moving receiver transmitter unit to azimuth. With radar trained on spot giving lowest reading, adjust <u>Sensitivity</u> control so that <u>Test Meter</u> pointer is on <u>AGC</u> line. Lock <u>Sensitivity</u> control. |
#Again, Manually scan desired sector and set <u>Volume</u> control for satisfactory max noise level in headset. | #Again, Manually scan desired sector and set <u>Volume</u> control for satisfactory max noise level in headset. | ||
#Set <u>Auto-Man</u> clutch to <u>Auto</u> position and monitor headset for moving target in area under surveillance. | #Set <u>Auto-Man</u> clutch to <u>Auto</u> position and monitor headset for moving target in area under surveillance. | ||
| + | |||
| + | {{message|NOTE|Make sure that low meter reading is not caused by blocking of radar beam by large fixed targets in front of desired target area}} | ||
===Stopping the Equipment=== | ===Stopping the Equipment=== | ||
Revision as of 13:53, 17 March 2014
Operating Instructions
These operating instructions are found printed on the data plate attached to the unit.
OPERATING INSTRUCTIONS
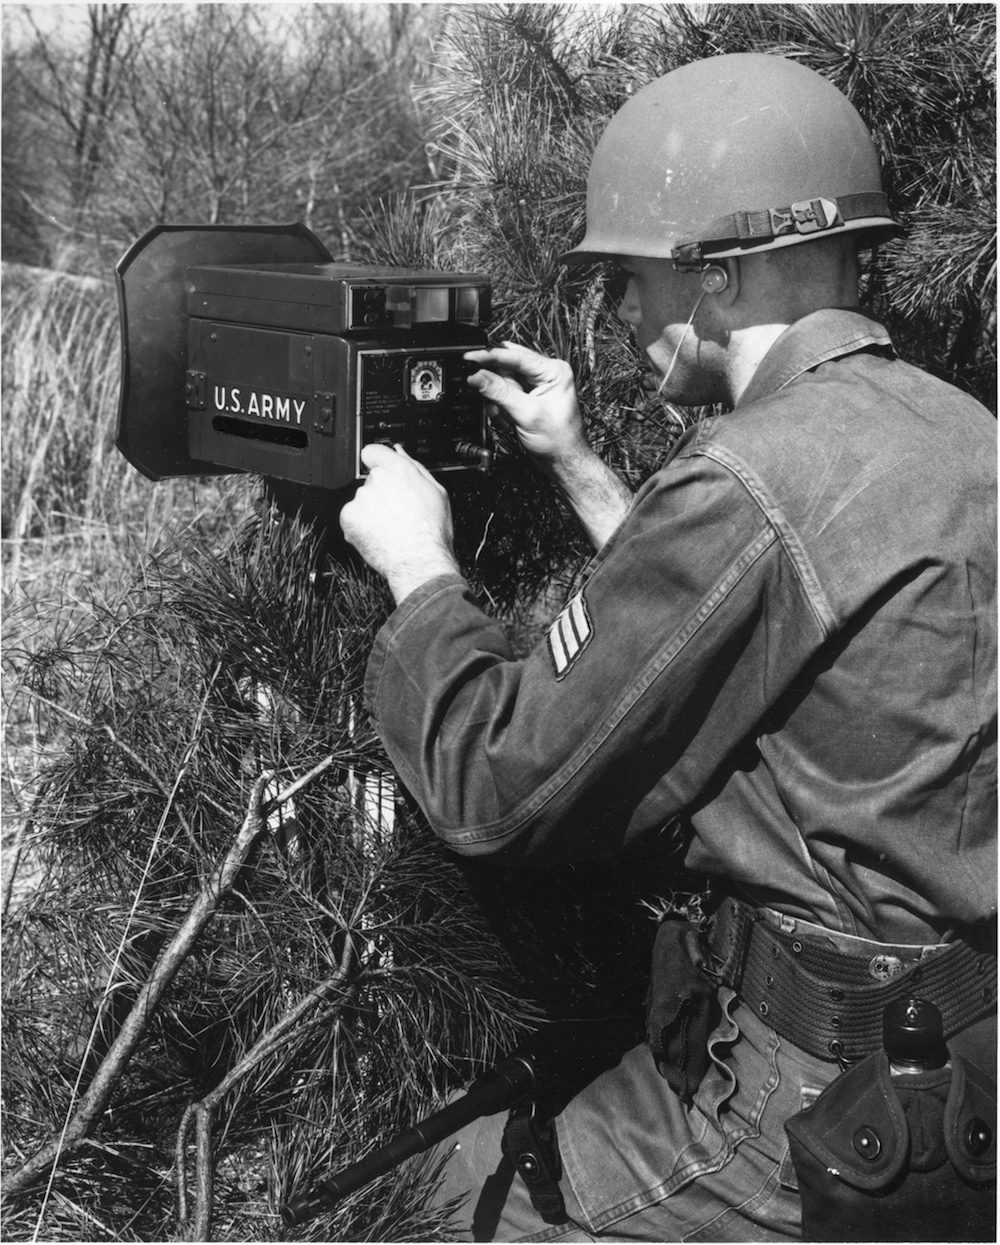
RADAR SET AN/PPS-6
These instructions are provided as a brief summary of standard operating procedures. Read your technical manual for complete instructions.
Starting the Equipment
- Set meter switch to BAT position and check battery condition on Test Meter
- Set Power switch (OFF-STBY-XMIT) at XMT position.
- Set Area Search switch (MODE 1-2-3) at MODE 3
- Set Adjust Range Control knob to estimated center (in meters) of desired target area
- Set Meter switch to AGC/EL position
- Sight on desired sector, using front and rear sights
- Adjust Sensitivity control so that Test Meter points to AGC line.
- Loosen Elevation knob and adjust radar for maximum AGC deflection on Test Meter while adjusting Sensitivity control to maintain meter pointer near AGC line.
- Set Area Search switch (Mode 1-2-3) to Mode 1 or 2 as desired, and Auto-Man clutch to Man position.
- On Angular control, adjust sector scan ring to center of desired scanning sector.
- Manually scan desired sector by moving receiver transmitter unit to azimuth. With radar trained on spot giving lowest reading, adjust Sensitivity control so that Test Meter pointer is on AGC line. Lock Sensitivity control.
- Again, Manually scan desired sector and set Volume control for satisfactory max noise level in headset.
- Set Auto-Man clutch to Auto position and monitor headset for moving target in area under surveillance.
Stopping the Equipment
- Place Power switch (OFF-STBY-XMIT) at OFF position.
